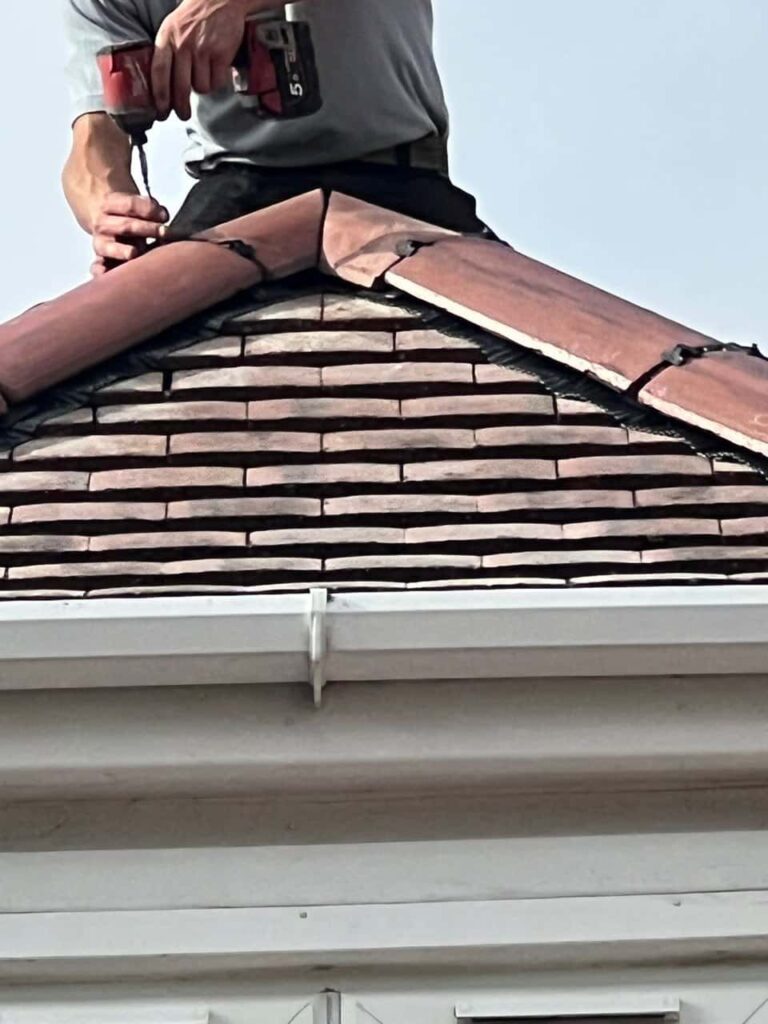
Introduction: Lead flashing is an essential component of your roofing system, providing a watertight seal in vulnerable areas like roof joints, chimneys, and valleys. Over time, small cracks or splits may develop in the lead flashing due to weathering or wear and tear. These cracks can lead to water intrusion and potential damage to your home’s interior. In this blog post, presented by Gamston Roofing Repairs, we’ll provide you with a step-by-step guide on how to seal and repair small lead flashing cracks, ensuring the continued integrity of your roofing system.
Materials You’ll Need:
- High-quality roofing sealant or caulk (compatible with lead).
- A putty knife or caulking gun, depending on the type of sealant.
- A wire brush.
- A clean cloth or rag.
- Safety gear, including gloves and safety glasses.
Step-by-Step Guide:
1. Safety First
Before you start, ensure you have the necessary safety gear, including gloves to protect your hands and safety glasses to shield your eyes from debris.
2. Assess the Damage
Carefully inspect the lead flashing to identify the location and extent of the cracks or splits. Ensure that the area is dry and free of debris before proceeding.
3. Prepare the Surface
Using a wire brush, gently clean the area around the cracks to remove any loose particles, dirt, or corrosion. This step is essential to ensure proper adhesion of the sealant.
4. Apply the Sealant
- If you’re using a caulking gun: Cut the tip of the sealant tube at a slight angle to create a small opening. Insert the tube into the caulking gun, then squeeze the trigger to apply a steady and even bead of sealant over the cracks. Ensure that the sealant completely covers the damaged area.
- If you’re using sealant from a tin: Dip a putty knife into the sealant and scoop out a small amount. Apply the sealant directly onto the cracks with the putty knife, smoothing it out to create a uniform layer.
5. Spread and Smooth
With a clean cloth or rag, smooth the sealant over the cracks to create a neat finish. Ensure the sealant is pressed firmly into the cracks to achieve a watertight seal.
6. Allow to Cure
Follow the manufacturer’s instructions for the sealant’s drying and curing time. Allowing sufficient time for the sealant to set and form a durable bond is essential.
7. Inspect the Repair
Once the sealant has cured, inspect the repaired area to ensure no gaps or imperfections. If necessary, apply a second sealant layer to provide a complete seal.
8. Clean Up
Clean your tools and dispose of any waste materials properly. If you used a putty knife, clean it thoroughly to prevent any dried sealant residue.
Conclusion: Repairing small cracks in lead flashing is a straightforward process that can help maintain the integrity of your roofing system and prevent water intrusion. Following this step-by-step guide and using high-quality sealant, you can effectively seal and repair small lead flashing cracks, ensuring your home remains protected from potential water damage. However, for more extensive damage or if you’re uncertain about the repair process, it’s advisable to consult with roofing professionals like Gamston Roofing Repairs for expert guidance and assistance.
Call us on: 0115 647 1193
Click here to find out more about Gamston Roofing Repairs
Click here to complete our contact form and see how we can help with your roofing needs.